
It’s a minefield out there – ceramic, porcelain or natural tiles, screed, engineered or solid wood, laminate, carpet…here are some tips.
Firstly, stick to a maximum of two different styles on one level. It’s tempting to change options room to room, but it gets over complicated and prevents a pleasing flow on the eye.
Secondly, it’s best to know what flooring you want before you start the build, hence this article is in the ‘Design’ section . Some floors require a depth of 300mm (suspended, hardwood floors), while some require barely 10mm. If you want all your final floors on the same level, some careful planning is required. Builders seldom get it 100% right, so oversee it carefully.
Also remember that flat roofs, balconies and shower floors need to have a drop or ‘fall’ for the water to drain off easily. Flooring options have to be carefully calculated to allow height changes.
Finally, all outside flooring needs to be lower than the internal floors, again for waterproofing – a full step is the best (or nothing less than 75mm). This might seem obvious, but there is almost always a place where that has not been carefully calculated in a house build.
Tiles
They are popular for a reason. Durable, relatively easy to install and resilient to mud, stains and kids. Remember to factor in price of tiles, delivery (pricey as they can be heavy enough to require crane trucks), tiler, adhesive, grout and possibly sealer before comparing costs to with other options.
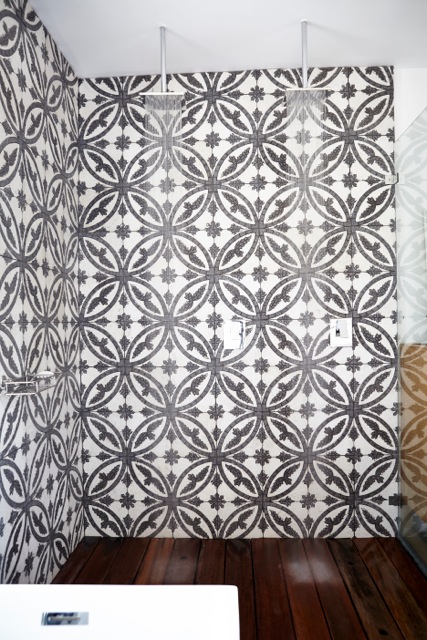
Large format tiles are great and create the illusion of a larger space. Similarly, mosaic on floors and walls create an interesting illusion.
One important tip – it’s almost impossible to get an idea of how a floor will look from one tile. Lay out at least 10 to get a good idea of the final colour/pattern. The ceramic tiles that are cleverly printed to look like marble, wood, concrete, stone etc. can start looking very obviously fake when the same pattern is repeated over a large space. Use fake anything with caution!
Types:
Ceramic tiles are cheapest and strong, i.e. most popular.
Porcelain tiles are a bit more expensive as they are harder. Porcelein adhesive (a must if you want to prevent loose tile later, is also more expensive).
Glass tiles are great for bathroom walls, but cannot be used on floors, unless they are old-school river glass mosaics. Be careful that you match the adhesive colour to the grout colour as it can shine through.
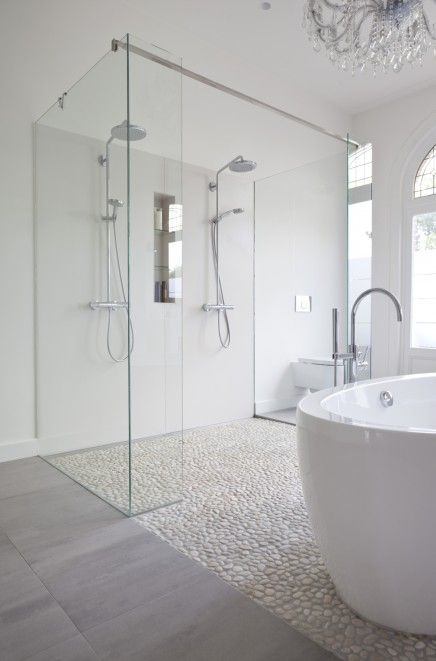
Mosaics are a great option for shower floors (smaller tiles prevent slipping). They do require an expert tiler as it can go very wrong, very quickly (you’re also likely to pay more for the installation).

Great care has to be taken with plastered walls underneath tiling – they have to be dead straight if you want to avoid glaring at skew lines (hard to hide with mosaics). Also ensure you use good quality ‘Mosaic fix’ adhesive to prevent tiles popping off.
Pebble mosaics make for an interesting texture change, but make sure you get the interlocking variety for a continuous look without square grouting lines.
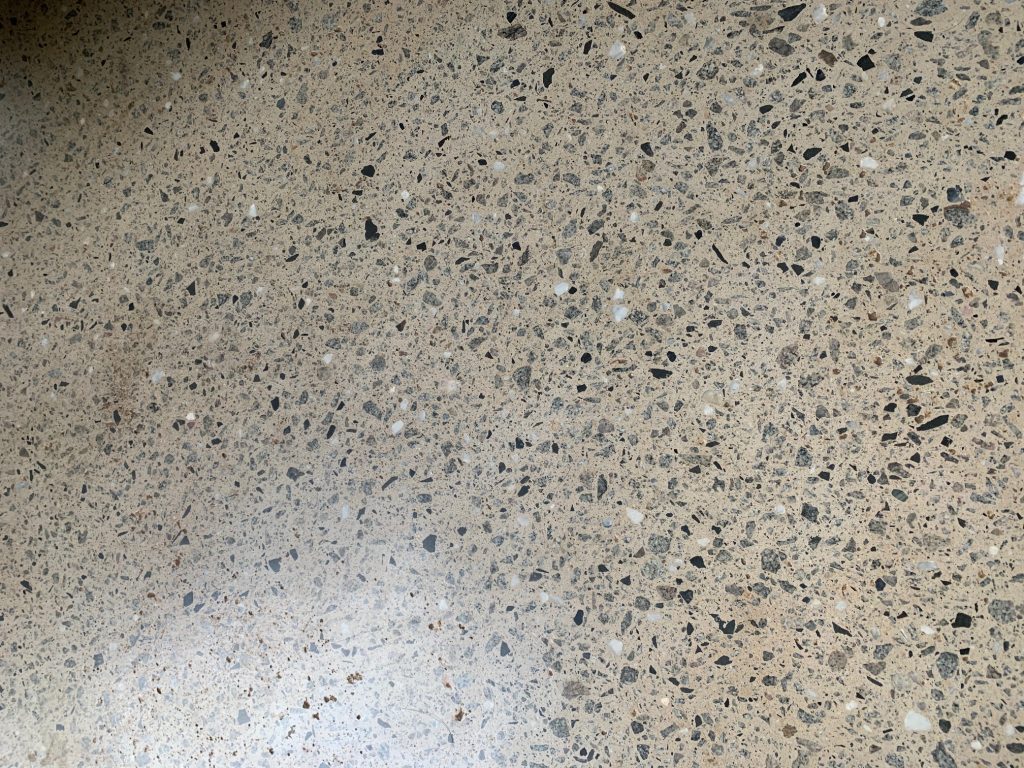
Very popular at the moment are the terrazzo style Cement tiles. Pricey, but great in high traffic areas (think V&A Waterfront). The patterned ones can be used to great effect.
Take very special care to seal them even before you start tiling though, especially white terrazzo (as much as 3/4 coats). They will pick up the colour of the adhesive or grout, or any dirt, and stain! They are much thicker than most tiles (generally 20mm) and also require an angle grinder for cutting.
For more about bathroom design, click here.
Natural tiles are a fabulous options, but the same rule applies regarding the thickness and staining. Be careful to check sealed samples. The colours can start changing drastically once sealed (especially sandstone). Travertine is a good option, but check batch for strength (do tiles have large fillers?).
Supplier Tip: For the last two options, Union Tiles is the best large supplier (speak to Benjamin at Bedfordview branch for the best advice on sealing and application).
Laminate/Vinyl
You cannot discount the practical value of this flooring option. Easy to install, cheaper than wood, easy to clean, but warmer than tiles.
Three things to consider. You’re still walking on plastic (that’s made to look like wood) and the installers now insist on separating each room with a slightly raised ‘divider’ strip. This is not great if you have many room entrances as it breaks up the look and is a dust collector.
Major water spillage can also lead to water absorption, which results in permanent swelling and a damp smell. Not to be used in bathrooms.
Vinyl’s are 100% plastic and simply stuck on (but need a mirror finish floor screed underneath).
Wood
Very few things look as great as a solid, hardwood floor. A great new option is engineered wood (composite at the bottom, real wood laminate on the top 4-15mm). Also helps save the rain forests. Bamboo, saves trees, but not an environmentally friendly process to make.

Another great option is using recycled planks from demolitions. Parquet is even cheaper (find them on Gumtree/Facebook), and although time consuming to clean and relay, the re-sanded end result can be astounding and will look as good as new. Current costing is around R300/330 a square – for a hard wood floor. Can’t argue with that!
Note: The wooden floors inside showers (as per pic higher up) and under baths looks fantastic, but are not practical due to hygiene issues. If you insist, tile underneath and make timber flooring removable for cleaning and drying.
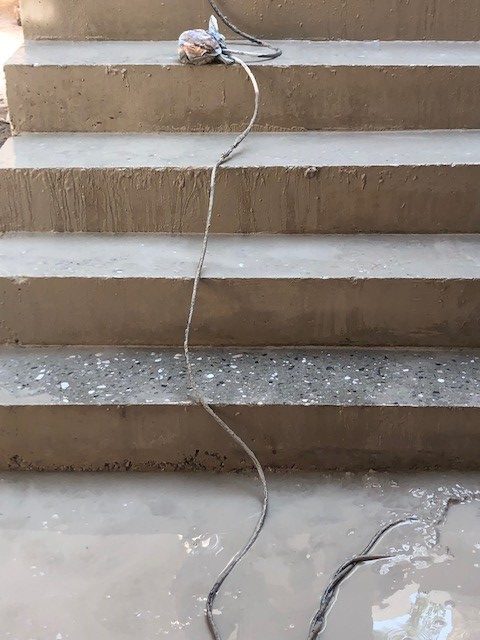
Screeds and concrete
Screeds are a very tricky business all round. Looks great when installed, but the cracks and damage are inevitable.
Trickiest of all is the choice of sealer. Every installer has their special, ‘guaranteed’ product, but they all start to crumble, stain or buff over high traffic areas (or over trowel ridges). Self-leveling epoxy is probably the best option, but can be shiny and very hard to keep looking clean.
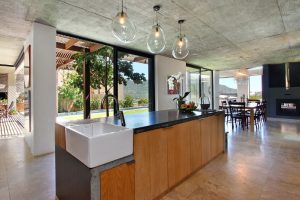
Polished concrete
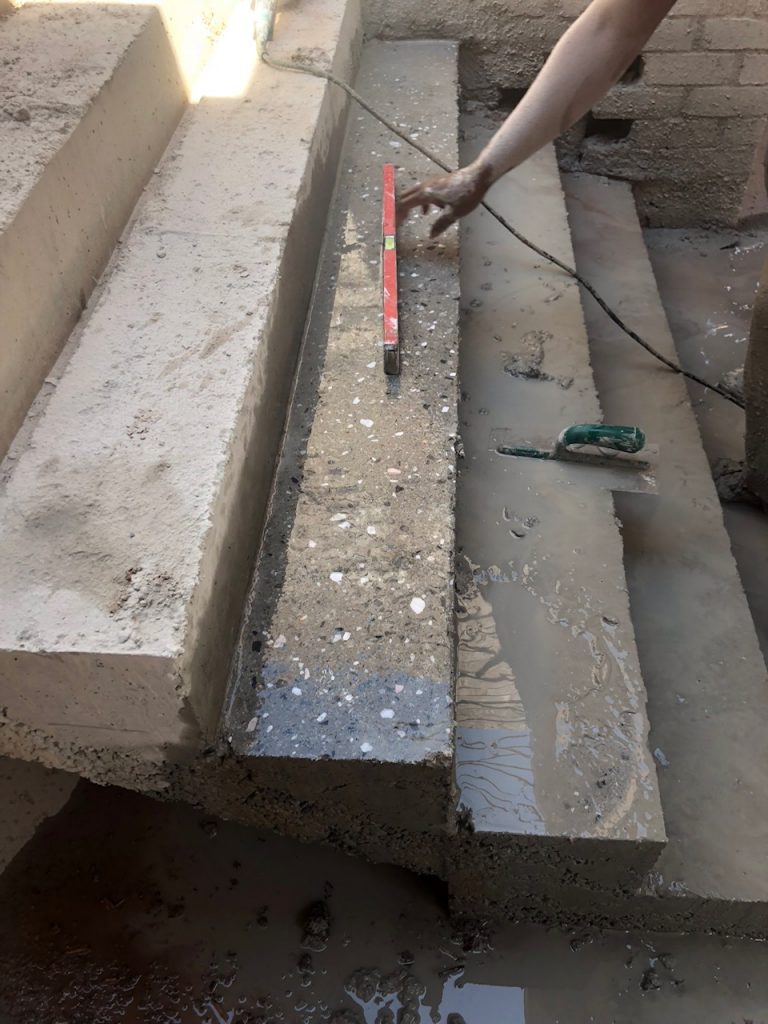
Polishing the slab concrete is gaining popularity for its strength and durability. Same sleek, continuous effect, but stronger material (screeds are generally thin coats applied over cement floors, hence their fragile nature) as, in this case, you’re literally polishing your 170mm/200mm concrete slab, chips and all.
Cracks still do occur, but it helps to use a special, high fibre concrete mix (Lafarge and Metier supply ‘polish’ mix) and to keep your slab at a constant temperature while curing (water and plastic covering).
What is essential is to vibrate and bull or power float (smoothing it out) the concrete on the day of the pour by an expert. Having said that, you can just polish an old, existing floor as it stands and still get decent results.
Finally, you can choose what type of polish you would like. A level three polish is your basic, relatively smooth floor (around R350/R450 to polish and seal), while Level 7 is almost a mirror finish once sealed (double or triple the price). Important to seal with something that absorbs into the concrete, i.e. Lithium base sealer used by good polishing contractors. Anything else will also start crumbling off after time.
For more info on polishing your slab, read more here.)
Mix’ (smaller chips, including marble, higher fibre content). Level 4 polish
Carpets
No doubt that the natural fibre options are the styliest, but they don’t last well and stain terribly! Just impossible to clean.
Can’t beat wool carpets for the luxurious feel underfoot.
A practical option is to simply have your standard floor finish (tile/screed/timber) and then use loose, seamed carpets in seating/sleeping areas for the softer feel. This way you can have best of both worlds (easy to clean underneath, and can wash the carpets/rugs when necessary).
Interesting options
Interlocking rubber tiles are a great option for garage floors or fun kids’ rooms.
Astroturf can also be great for a kid’s room.
Remember, it’s fine to play around in bedrooms, but keep it simple in your living areas where you want to create a flow and clean lines!